Quick Answer
What are some pre-writing activities for preschoolers?
Offer a meaningful mark for a picture, a finger path, a short line across or down, a gentle wave, or a route the child invents. Choose one activity, show it once, and invite a small attempt. Use plain paper or a printed picture path, change the help when needed, and allow drawing or stopping. These are choices, not a sequence to finish before writing a name.
Have plain paper, a comfortable drawing tool and, if wanted, one printed picture-path page. Choose an activity the child is interested in today. Show one example and invite an attempt, a story or a change of plan. These six choices can be used separately.
Choose one activity
Drawing and meaningful marks can be part of the choice. Head Start’s writing framework includes drawings, scribbles, letter-like forms and letters used to convey meaning. This lesson does not turn its age bands into a test. NAEYC’s emergent-writing guidance describes adults modeling writing in meaningful situations. The picture activities below are our own examples.
1. Make a mark for your picture
Have ready: Plain paper and a comfortable crayon or marker.
Say: “What would you like this mark to say?”
- Show and invite
- On your own paper, draw a flower. Add a small mark below it and say, “This is my mark. It tells me this is my picture.” Invite the child to make their own picture and add a mark if they want.
- Make it easier
- Offer a larger blank area, or leave the mark out and talk about the picture.
- Notice one thing
- Ask, “What does your mark tell us?” Listen to the child’s explanation, or let the picture stand on its own.
- A place to stop
- The picture can be finished as soon as the child wants.
2. Follow a path with a finger
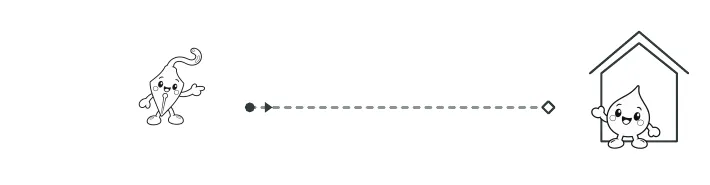
Have ready: The horizontal picture-path example below, or one route drawn on plain paper.
Say: “Start at this dot. Follow the path to Dot by the house.”
- Show and invite
- Point to the solid starting dot, follow the line with your finger, and stop at the hollow diamond beside the destination. Invite one finger journey.
- Make it easier
- Draw a shorter route on plain paper and point to its two ends.
- Notice one thing
- Notice whether the child understands where this journey begins and ends. Lifting a finger or trying again is fine.
- A place to stop
- One trip can be the whole activity.
3. Try one across path
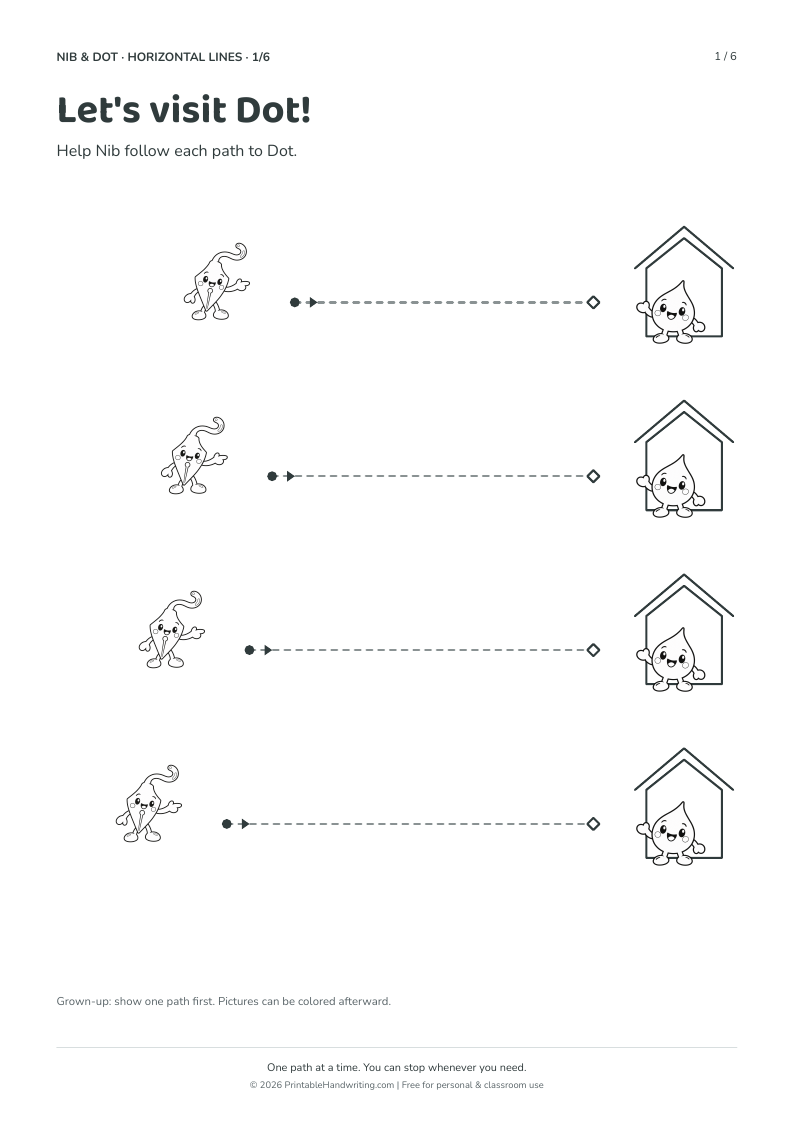
Have ready: Page 1 of the horizontal collection, titled “Let’s visit Dot!”, and a crayon, marker or pencil.
Say: “Let’s help Nib go across to Dot.”
Use the horizontal picture path above with a drawing tool this time.
- Show and invite
- Choose just one of the four printed paths. Show the left-hand starting dot and trace across to the destination once, then offer another path if wanted.
- Make it easier
- Select Shorter in the generator, trace with a finger, or draw one short line on plain paper.
- Notice one thing
- Look at one feature: starting at the dot and travelling across toward the house. Small departures from the guide are a reason to offer help, not a score.
- A place to stop
- The other printed paths may stay empty.
4. Try a down path
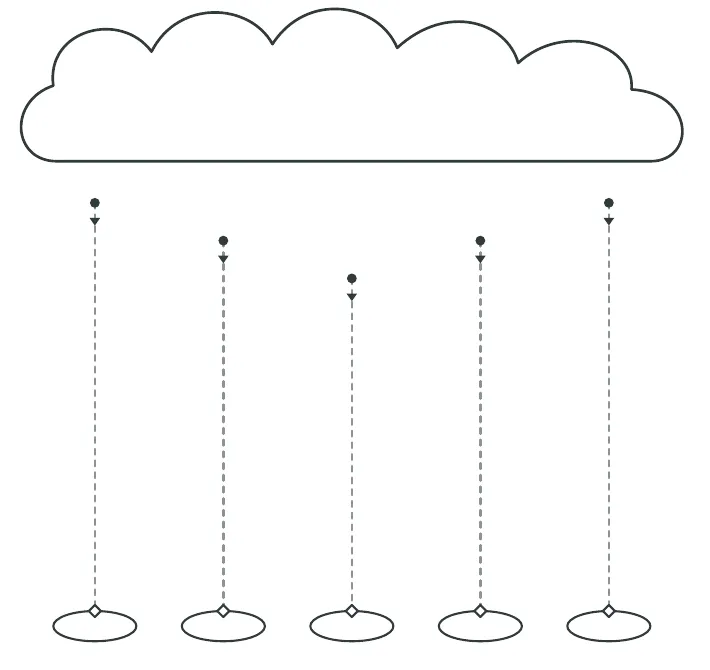
Have ready: Page 1 of the vertical collection, “Make it rain!”, and a chosen drawing tool.
Say: “Start at the dot. Let the rain go down to the puddle.”
- Show and invite
- Choose one rain line. Point from its upper dot down to its puddle, then show the movement once while the paper stays steady.
- Make it easier
- Use a finger first, or draw a shorter downward route on a spare sheet.
- Notice one thing
- Notice the top-to-bottom direction and show it again if wanted. Help keep the paper steady.
- A place to stop
- One rain line is enough if the child wants to move on.
5. Follow a gentle wave
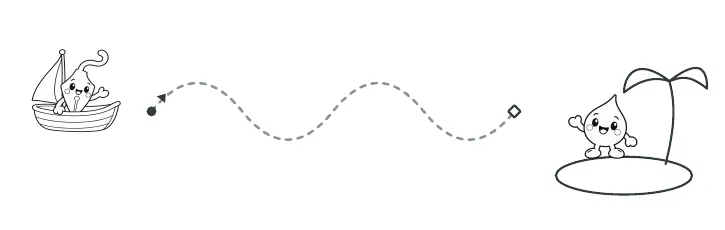
Have ready: Page 1 of the wavy collection, “Sail to Dot!”, or a broad curve drawn on paper.
Say: “Follow the wave from Nib’s boat to Dot’s island.”
- Show and invite
- Follow one curve slowly with a finger. Offer a drawing tool only if the child wants to trace it too. Pause or lift and return to the same path if useful.
- Make it easier
- Draw one broad curve on larger paper, or return to a straight route.
- Notice one thing
- Look for the chosen destination, not a perfectly continuous or perfectly centered line.
- A place to stop
- There is no requirement to fill the other routes or finish all six collection pages.
6. Draw a route of your own
Have ready: Blank paper. A child or adult can choose two places to connect.
Say: “Where would you like your route to go?”
- Show and invite
- Invite the child to choose two places. For example, draw a tree and a pond on plain paper, leaving the space between them blank. Ask how they could get from one to the other. You can add a starting dot and destination mark if wanted.
- Make it easier
- Let the child point, tell a story, change the destination, or draw freely.
- Notice one thing
- There is no tracing line to match. A new route can be straight, curved, looping, or something else the child chooses.
- A place to stop
- Finish with the drawing or the story; another route is optional.
Make a path shorter or larger
Less distance: choose Shorter to reduce the path’s width or height while the characters keep their size. It does not shrink the whole worksheet.
Fewer invitations: lower Paths per activity, or choose one printed route and leave the rest empty. A collection still contains six activities, even when each has only one path.
A larger space: use a bigger blank sheet and draw one simple invitation yourself. The online tool does not have a separate large-paper or road-width control.
Printing: match A4 or US Letter to the selected paper, use Actual size / 100%, and choose the page you want. Check the preview after changing orientation because page count can change.
See the full horizontal example page
Continue, draw freely, try a name letter, or stop
Ask whether the child wants another route, a new picture or a finish. If there is a useful reason to sign a drawing, you can try a name mark or a letter now; line tracing is not a required entrance test. The name-writing guide shows how an adult can choose a name or initial and adjust the help.
For a custom name page, the Name Worksheet Generator lets an adult enter the intended spelling. Choose its Preschool name practice layout manually if wanted. A drawing, a story or a single attempt can also be the end of today’s activity.
These six activity ideas are original examples. The sources describe broader early-writing practices and have not evaluated these worksheets or their practice quantities.
Frequently asked questions
Must we finish every page in a pre-writing collection?
No. The six activities offer variety. Print a page you want, try one path, and leave other paths empty. The generator also offers One activity. Use the actual preview page count when changing paper, orientation or paths per activity.
Does a child have to master lines before writing a name?
No fixed line-tracing sequence is required by this lesson. A child can make a mark for a picture, try a meaningful name letter, draw freely or choose a path. Coordinate letter models with the school when relevant.
What if the child does not want to trace with a pencil?
Offer a finger path, plain-paper drawing, a different comfortable drawing tool or a stop. Show one example if wanted. Repeating a whole worksheet is not a required response.
How can I print just one activity?
Choose Preschool line tracing, select a line type and choose One activity, then check the preview. Alternatively, download a six-activity collection and select a wanted page in the print dialog. Match the selected A4 or US Letter paper and use Actual size / 100%.
Sources & References
Supports meaningful writing opportunities and adults demonstrating writing while talking about it. It does not test these picture paths, six-page collections or repetition counts.
Includes drawing, scribbling, letter-like forms and letters used to convey meaning. Its age bands are not used here as a pass/fail checklist.